Managing your team's timesheets with Work Hub
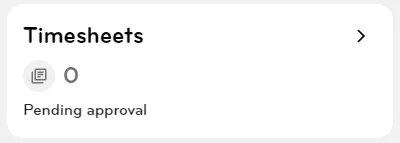
When you log into your Work Hub, the counter on the Timesheet widget will show you how many timesheets are awaiting your approval. Clicking on the arrow within the Timesheet widget will take you to the Timesheet tab under Organise.

The Timesheets screen will show three tabs: Pending, Approved and Completed.
Approve or decline a timesheet
Under the Pending tab, you'll find all timesheet entries that are waiting to be approved.
You can approve or decline an employee's entry by clicking the pencil icon, and then click Approve or Decline.


Edit a timesheet
To edit a timesheet, click on the pencil icon next to the employee's name and click Approve.
Go to the Approved tab and double click on the timesheet entry.
Make your changes and click Save.
Adding a timesheet on behalf of your employee
You can add timesheets on behalf of your employee under the Approved tab.

1. Select the correct employee, and then click Add entry.

2. Fill in all the details for the time entry, then click Save once completed.

Delete an approved timesheet entry
You can also delete a time entry in the Approved tab.
Simply locate the timesheet in the Approved tab and then click on the bin icon to delete.

Completed timesheets
In the Completed tab, you'll be able to view timesheet entries that are completed (and have been paid). You can view multiple employees, or if you want to view one employee's timesheets, you can exit out other employees by clicking on the X next to their name.

